Anyway, in this final part of the project, I'll be rebuilding the buggy with new electronics, and getting it ready for it's test drive.
I've been waiting for nearly a month now for some of the parts (in general, not just for this), and a good few weeks for others. I had to steal a few parts from an existing car (motor and speed controller), but that'll have replacement ones and a new Rx as soon as the parts arrive anyway.
I decided to save time and effort by using a stock Tamiya 27T motor, complete with bullet connectors and the Tamiya 101 ESC it was attached to, off of my Tamiya Enzo Ferrari... I've also used a new 2.4Ghz Rx instead, not just for reliability but for it's miniature size (they're a good 75% smaller than analogue Rx).
Inventory:
- Motor: Tamiya 540 27T (any 540 approx 27T will do)
- ESC: Tamiya TEU101-BK
- Servo: Acoms AS17
- Radio Tx: FlySky GT3B
- Radio Rx: FlySky GR3C
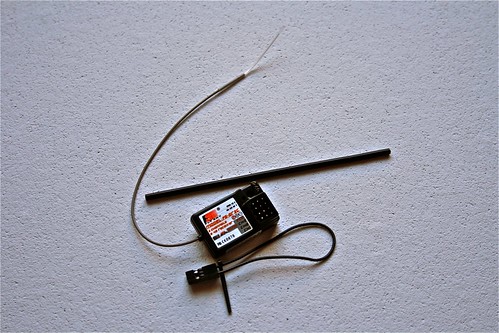 |
| FlySky 2.4Ghz Receiver |
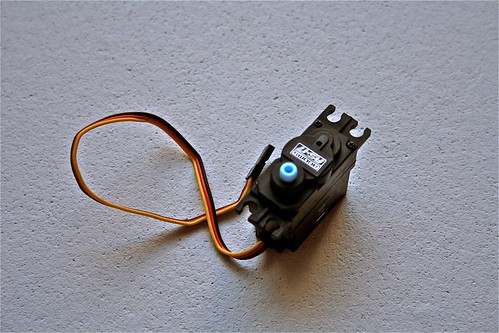 |
| Stock Acoms Servo |
The first step was to wash the parts, minus the gearbox, which got a good wipe down instead. I ended up submerging and washing the other parts (all plastic minus the front-end) which made it a lot easier to get the sand and gunge out.
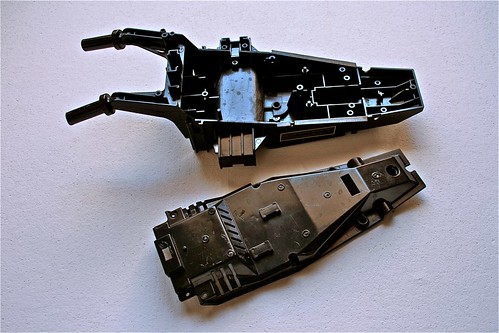 |
| Clean parts ready for re-assembly. |
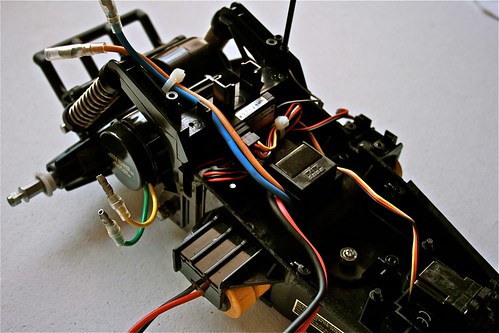
Once dried and ready to re-assemble, I tried dry-fitting the electronics into the main bathtub as best I could, along with the servo. With the lid on, the servo fitted and with a bit of shuffling, the electronics did as well. Interestingly there was a slot perfectly in line with the top flange of the servo (with a recess and raised guides for the bottom flange) and even a space for the servo cable.
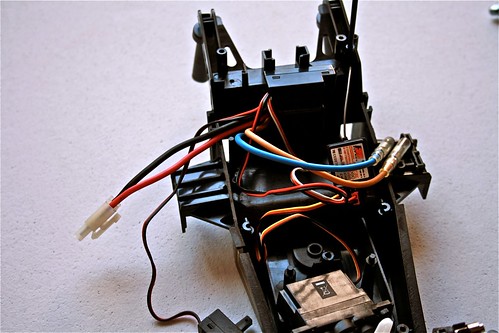 |
| Dry-fitting components. |
Once everything was in place (with cable ties), I tackled the servo mount, which ended up being a saddle by virtue of using long enough screws and allowing the bracket to bend over the servo a little. There's a little pressure from the bracket against the top lid, but nothing significant. Long term, it may be better to carve a chunk of the plastic from the top of the servo slot to give the bracket some clearance, but for now it'll run perfectly without doing so.
 |
| Cable tied and neatly organised. |
The servo sits without any movement and moves freely without obstruction, so all in all the servo replacement has been straightforward. I couldn't use the original servo horn, given the tooth shape, but having to only replace one component has to be pretty good!
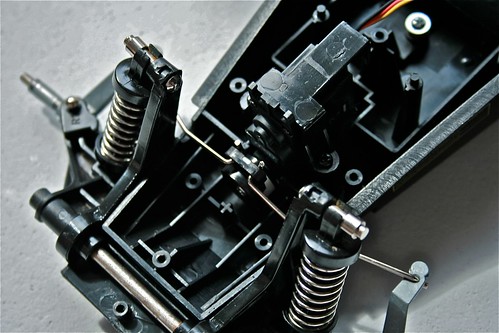 |
| Servo mounted with original servo saddle. |
In rebuilding the back-end, I used the original push-on pinion gear and the Tamiya 27T motor stolen from my Ferrari. There wasn't much to do with the back-end, apart from routing the cables (which will be zip tied to the upper suspension arm), and reattaching to the main bathtub chassis.
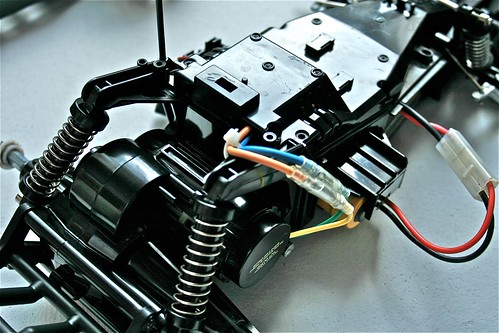 |
| Back-end with new Tamiya 27T motor. |
 |
| Assembled and ready to go, sans-shell... |
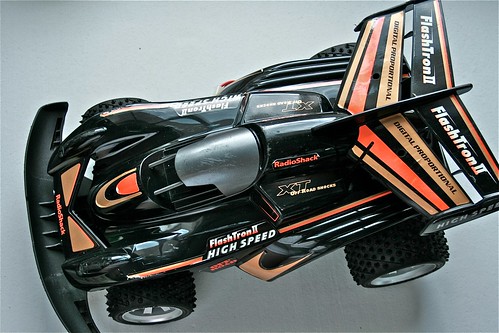 |
| Ready to go... |
I test drove the buggy in the driveway, and all seems good. Took a hell of a lot of trimming to get the steering and throttle correctly balanced - the steering servo needed reversing as well. I'm enjoying the FlySky controller, I like the setup and the ability to tweak all of the settings whilst the vehicle is moving. Though still getting used to the controls, and the "End" button being the "Enter" button, and the "Enter" button being the "Select" button.
When Ms R. is back, we'll take the buggy to the park, and film it in action. Until then, I'll start getting to grips with the chassis design for the new truck.
Great. I want to do the same to my "Flashtron". Can you post a detailed list of motor, motor controller, servo and radio parts?
ReplyDeleteHi Michael,
ReplyDeleteI've added the details into the post now!
Should also add, that if you have issues sourcing any parts, let me know, as I do buy in bulk and have spares...
ReplyDeleteThat is great! thanks for the offer. If I run into any issues I'll be in contact.
ReplyDeletegot mine running tonight. The kids will be happy. Thanks again for posting this rebuild and the parts list it help a lot.
ReplyDeleteThat's great! Send me some pics and I'll post them; I can start a Flashtron gallery...
ReplyDeletejon (at symbol here) shotbymccoy.com